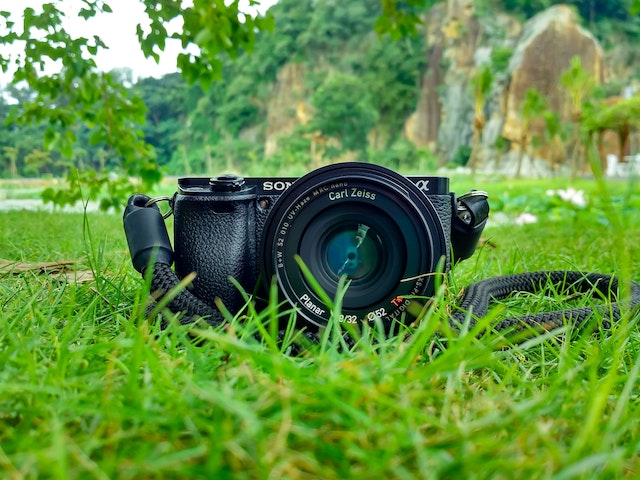
A good photographer has a solid understanding of taking high-quality photographs. However, things may go wrong and different factors can affect the quality of the photos. Here are 10 hot tips to know and fix bad photos.
How to Identify & Fix Bad Photos
Blurry Photos
Due to problems with your camera or incorrectly configured camera lens settings, the subject of your photo may appear blurred. Accidentally shaking a camera while taking your photograph may also cause this problem.
Fix:
- You may use photo editing software such as Adobe Photoshop, Adobe Lightroom, GIMP, to fix blurry photos. These complex tools can help improve the overall quality of your photos, and sharpen them. To sharpen your photos using Photoshop, drop your background layer onto the New Layer button, and take help of the Smart Sharpen Tool.
- You may also use the camera RAW filters in Photoshop that are found in the Filter tab to adjust the saturation, brightness and contrast of the whole image or affected parts.
- Increasing the shutter speed might also help avoid blurry photos in the future.
Distorted Photos
Do the subjects in your photos appear a little bit stretched or distorted? A problem with your camera lens or composition issues, can cause specific regions in your photos to appear distorted.
Fix:
- There are various ways to fix distorted photos including cropping tools and lens correction filters. You may use the cropping tool to straighten your photo. Alternatively, you may use the correction filters to fix lens distortions in Photoshop. If you’re using GIMP, look for the iWarp tool feature.
Color Casting Issues
Oftentimes, you may find unwanted color tints on your images. Most often, this problem is caused due to human errors. Setting incorrect white balance settings, using incorrect filters, and lightning settings, can cause color casting issues.
Fix:
- To adjust the color and tone for camera RAW, open your image and then use the Camera RAW option under the Format menu. The adjustment brushes will now be visible. You may apply them on specific portions of your image.
- To adjust the color and tone for other images, make use of the various controls such as levels and curves, color balance, hue/ saturation, black & white, etc. from the Adjustments panel.
Contrast
Do you use a low quality camera lens or shoot photos in overcast light? Low light conditions often cause inadequate contrast. To avoid this issue, professional photographers often recommend shooting in bright, directional light with high-quality camera lens and correct camera settings.
Fix:
- You don’t need a special tool to fix contrast imbalance. The Photos app in Windows can do this job. Open your image in the Photos app, and click on the Edit & Create icon on the top. Move the Contrast slider control to adjust your photo’s contrast.
Poor Lighting
Dark shadows are often problematic, especially if you take the photos of your subject from too close in distance. Such photos are often prone to lightning issues.
Fix:
- You can adjust the photo brightness and contrast to fix any lightning issues with the photo.
- Improving the contrast may also help.
- A gradient filter in Adobe Photoshop and Gimp can also help bring more light into the shadowed regions of your photos.
Incorrect Cropping
If the focus subjects of your image are partially or wholly cropped, it indicates a badly taken photo. Cropping issues can also occur while post-processing photos.
Fix:
- You may recover an incorrectly cropped in Adobe Lightroom. To do so, use the Crop Overlay Tool. Remember that there is a limitation as to how much portion you can recover.
- To recover cropped photos in Adobe Photoshop, use the Clone Stamp tool. To do so, open your image in Photoshop. Click on the Clone Stamp Tool icon while pressing and holding the Alt key. Select the region of your photo that you want to fix.
- Nevertheless, it’s always best to prevent incorrect photo cropping in the first place.
Excessive Noise
When some or all pixels in your image don’t correctly represent the color or exposure of the subject, your photo is exposed to noise. Most often, this problem happens while using high ISO settings in your mobile/ digital camera.
Fix:
- Don’t use high ISO settings such as those above ISO 1600.
- Use a flash while capturing photos of individuals.
- For low lights, reduce the shutter speed.
- Always shoot your photos in the RAW format so as to better deal with high-ISO situations and get the best out of your photos’ post-production.
Lower Resolution
Using an abnormally lower screen resolution will cause loss of pixels. Due to the loss of detail, the quality of your image will decrease and the photo will appear pixelated.
Fix:
- While taking photos, it’s recommended to set higher picture resolution. You may lower it down during post-processing.
- Both Adobe Photoshop and GIMP support upscaling images. It’s important to select the appropriate upscaling method to avoid existing pixel loss. In Photoshop, make sure that the Preserve Details 2.0 option is checked while upscaling your image. In GIMP, make sure that the Cubic method is selected.
Lack of Creativity
Apart from the technical aspects, creativity plays a vital role in the quality of your photo. Your photos should tell a story, or evoke emotions. If the photographer lacks creative vision, the photos may not stand out from others.
Lack of Originality
Another important factor is originality. Are your photos unique? Original photos can be memorable, create impact and inspire people.

Leave a Reply
You must be logged in to post a comment.