
Recycle Bin is a place on your computer that temporarily holds your deleted data. Recycle Bin is equivalent to the Trash in Linux and Mac OS. It was first introduced in Windows 95 and continues to be part of the modern operating systems. The primary object of Recycle Bin is to temporarily hold data until it is permanently deleted or restored to the original location. It acts as an undo button in the event a user accidentally deletes an important document or file.
If your Recycle Bin won’t empty, it shows errors or greyed out, there are several possibilities. Follow up the steps in this tutorial until your problem is completely fixed.
Method 1: Exit All Running Applications
If you’ve too many applications running on your desktop, close them. One of the applications may be conflicting with the Recycle Bin and preventing the Recycle Bin contents from being deleted. This is especially common with the online file syncing app Microsoft OneDrive. Because OneDrive files are constantly synced and updated online, a technical glitch in the process or an unstable Internet connection prevents the files from being deleted on the local machine.
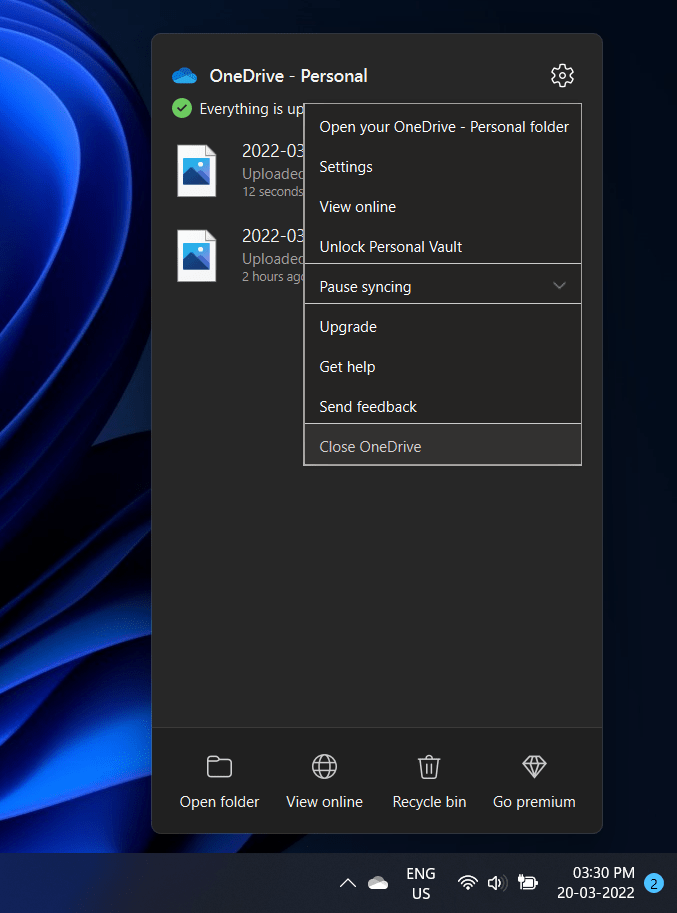
To exit OneDrive, look for its icon in the system tray area of your Taskbar (bottom right corner). Right-click on the OneDrive icon and select Close OneDrive from the main menu options.
Method 2: Empty Recycle Bin Contents Using Alternate Method
If the Recycle Bin won’t empty with the manual method, there is an alternative way. You can empty the Recycle Bin contents using the Settings app as follows:
- Click on Start > Settings.
- Click on the System tab on the left.
- Click on Storage.
- Click on Temporary Files.
- Check the Recycle Bin option.
- Click on the Remove Files button.
Method 3: Perform Clean Boot
Clean Boot is a Windows startup method that loads only necessary system drivers and Windows components.
Just like the desktop applications, your Recycle Bin won’t empty when one of the background processes and services is causing conflicts. Clean Boot restricts third-party background processes and services from running at the system boot interval.
To clean boot your PC, follow the steps given below:
- Click on the Search box on your Taskbar.
- Type “msconfig”
- Open the System Configuration app from the search results.
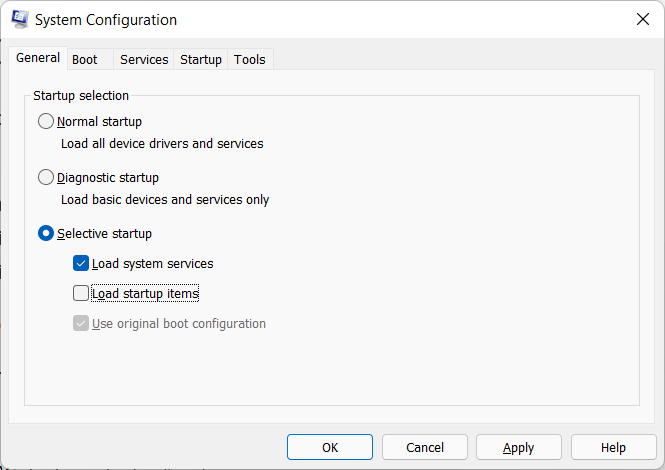
- In the General tab, choose the “Selective startup” option.
- Uncheck the box “Leave startup items”.
- Click on OK and restart your computer.
Method 4: Reset Recycle Bin
Another solution is to reset the Recycle Bin to defaults.
Important: It is recommended that you take a backup of your documents and data before proceeding with the steps given below.
- Click on the Search box on Taskbar.
- Type CMD.
- Right-click on the Command Prompt and select Run as Administrator.
- Type the following command and press Enter:
- rd /s /q C:\$Recycle.bin
- Repeat the same command for other drives as well. For example: For the drive “D:\” on your hard disk, replace “C:\” with “D:\”. The actual command will be:
- rd /s /q D:\$Recycle.bin
- Restart your computer.
- Create a new Text Document (.txt) and delete it to generate a new Recycle Bin.
Leave a Reply
You must be logged in to post a comment.