If your client is in another country or continent, email scheduling can be a helpful feature. It will increase the likelihood of their timely response or call to action.
If you’re a Gmail user, there’s good news: You don’t need to download any third-party extensions or pay for a service. You have the email scheduler right in your inbox. Don’t believe us? Keep reading.
Scheduling Emails in Gmail Web App
If you’re accessing Gmail on your Windows, Linux or MacBook, here’s how you can schedule your important emails:
1. Fire up your browser, and sign-in to your Gmail account.
2. Click on the Compose button to compose a new email.
3. Specify the recipient’s email address in the To field.
4. Write a subject line and email body text.
5. Click on the dropdown arrow next to the Send button.
6. Select Schedule send.
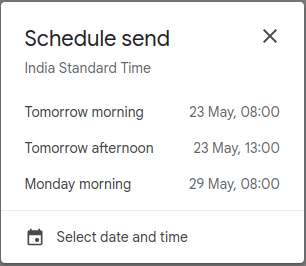
7. Gmail will give you a few suggestions for when to send your emails.

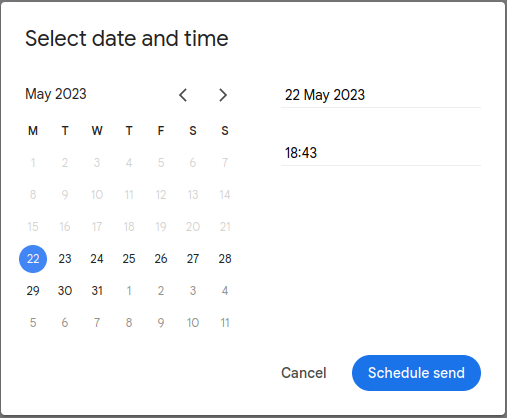
Or, if you don’t wish to schedule email at Gmail suggested date-time, click on the Select date and time option.

Select your desired date and time, and then click on the Schedule Send button.
8. A notification will appear that your email is scheduled.
Canceling Or Modifying a Scheduled Email in Gmail Web
Sometimes, you schedule an email and then find out that it has some mistakes. Don’t panic. If the scheduled email isn’t sent yet, you can cancel it. Gmail provides an easy way to manage your scheduled emails through a separate tab.
1. Click on the Scheduled tab.
2. Click on your email to open it.
3. You will see a message: Send scheduled for <Your Scheduled Time> with a Cancel Send option.
4. Click on the Cancel Send option.
5. Gmail will revert your scheduled email to a draft. Click on the Discard Draft button, or modify your email and then re-schedule it again.
Scheduling Emails in Gmail Android/ iPhone App
The email scheduler feature is available in both the Web version and smartphone apps. You can schedule your emails in the Android and iPhone app as follows:
1. Open the Gmail app and sign in to your Gmail account.
2. Tap the Compose icon on the left.
3. Tap the three vertical dots icon.
4. Select Schedule Send.
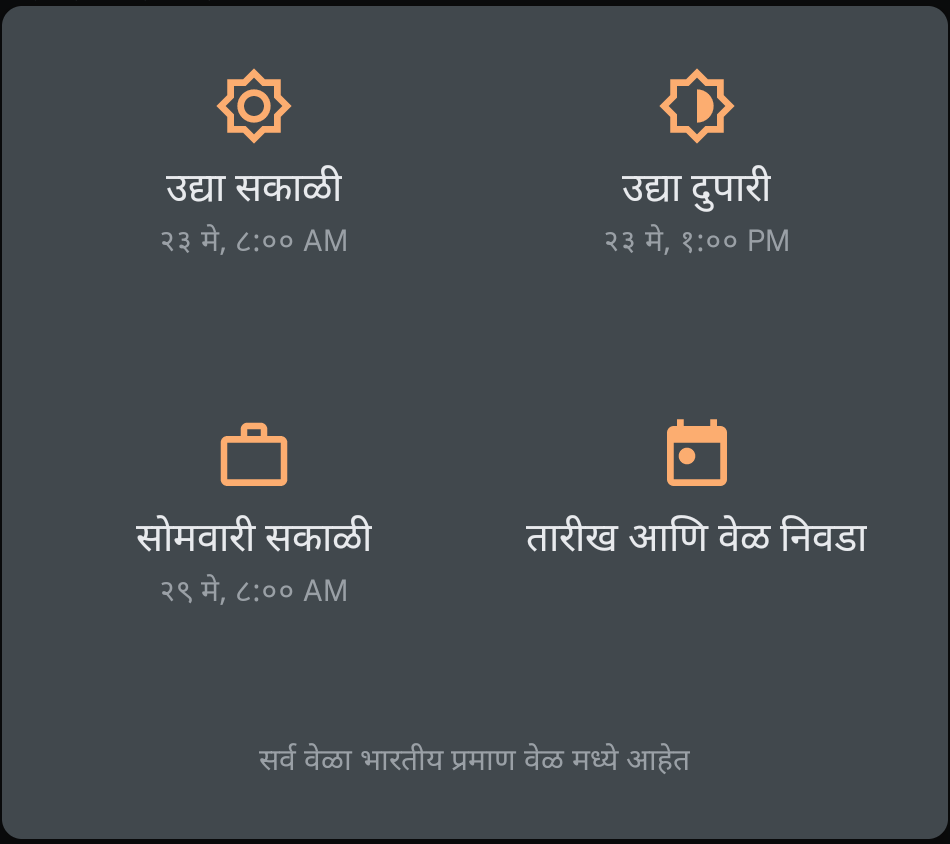
5. Select a date-time from the Gmail suggestions.

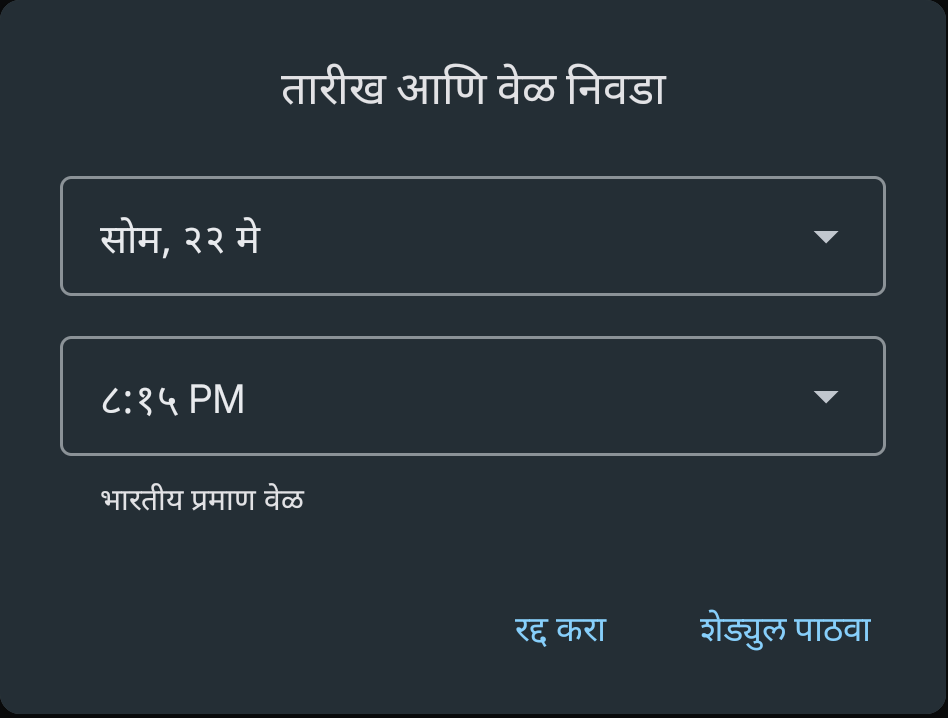
Or, if you don’t wish to schedule email at Gmail suggested date-time, tap the Select date and time option. Choose your desired date & time. Tap Schedule Send.

6. A notification will appear that your email is scheduled.
Canceling Or Modifying a Scheduled Email in Gmail Android/ iPhone App
Much like the Gmail Web app, you can cancel or modify your scheduled emails. Here’s how:
1. Tap the Hamburger icon.
2. Tap the Scheduled tab.
3. Tap your email to open it.
4. Tap the Cancel Send option.
5. Gmail will revert your scheduled email to a draft. Tap the Pen icon to modify its contents and reschedule it again. Or, tap the Go to Drafts option to discard your email.

Leave a Reply
You must be logged in to post a comment.